How to Ensure Your First Clothing Sample Is Perfect
The sampling stage of any new clothing design is super exciting – you get to see your design come to life! It can unfortunately also be disappointing and stressful if it doesn’t come out the way you expected, and can be costly and time-consuming if you end up needing several rounds of re-sampling for your manufacturer to get it right.
Here are our top tips for making sure you get the best sample you can the first time around!
First off, what is a clothing sample? A sample is a physical prototype of your design, showing you exactly how your garment will look, feel and fit when it is manufactured. Sampling is a vital stage of the clothing development process, for both you and the manufacturer. It allows the manufacturer to essentially figure out how to make your clothing design, testing all the construction methods and details. Sampling also allows you to check the design and fit and make sure that the concept came out exactly as you wanted.
Getting your clothing samples made can be a tricky process which can easily go wrong, but there are some steps you can take to make sure your sample is as perfect as can be on the first go!
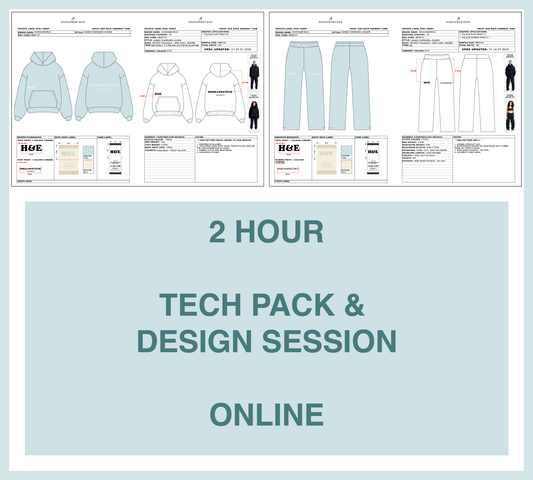
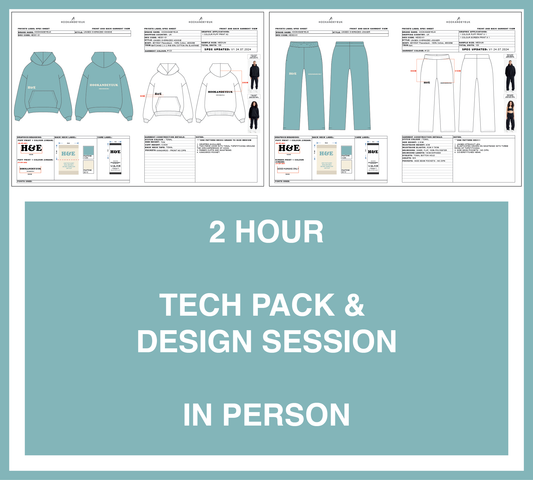
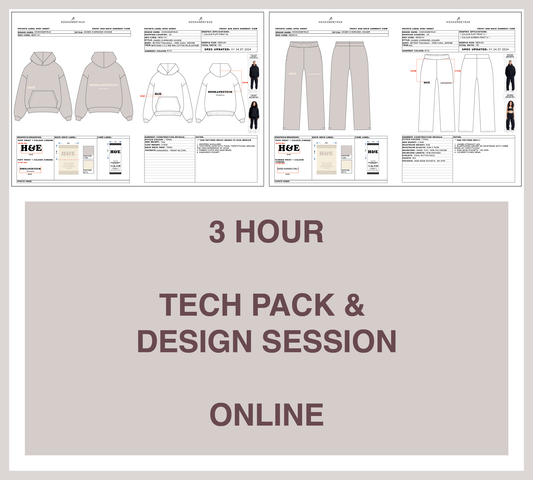
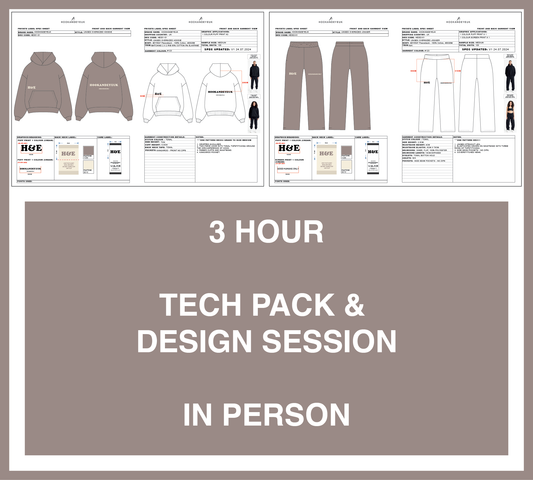
1. Use Detailed Tech Packs — The Foundation of Accurate Samples
Having great tech packs is the single most vital point for getting high-quality clothing samples. Not only does it tell the manufacturer all they need to know for creating your sample, it also acts as a contract between you and them – so having as much detail as possible on your tech packs removes any ambiguity and makes it really clear what you expect.

No good manufacturer will work without a full tech pack! If you need help putting your tech packs together just pop over to our tech pack & design sessions page. If you'd like some more information on what makes a good tech pack, here's our handy guide.
2. Provide a Reference Garment to Ensure Accurate Fit & Style

Sending a sample reference piece of clothing to your manufacturer for them to base the fit on is a great way to make sure the fit of your clothing sample is correct.
This can just be a piece of clothing you already have that you love the fit of.
Specifying that you want your sample fit based on this reference piece massively helps, as you know exactly what to expect and your manufacturer has a clear, physical guide to follow. If possible make sure that the reference item you send is in a similar fabric to the end garment you’ve designed in your tech pack.
3. Why Size Charts Aren’t Enough — Don’t Skip the Reference Garment
Measurement charts, as a sole guide for fit, just don’t work. Whilst key measurements might be provided, they are not a full picture of the complete pattern pieces and often manufacturers will just match these measurements to an existing block pattern they already have. The fit and shape of the pieces between these measurement points could be anything!
Below we can see a measurement chart for the Hook and Eye UK Unisex Boxy Fit Oversized Hoodie. Although this is really useful for grading purposes (creating the different sizes), without the full pattern for at least one of the sizes this chart would never be able to create your fully desired fit for a sample.
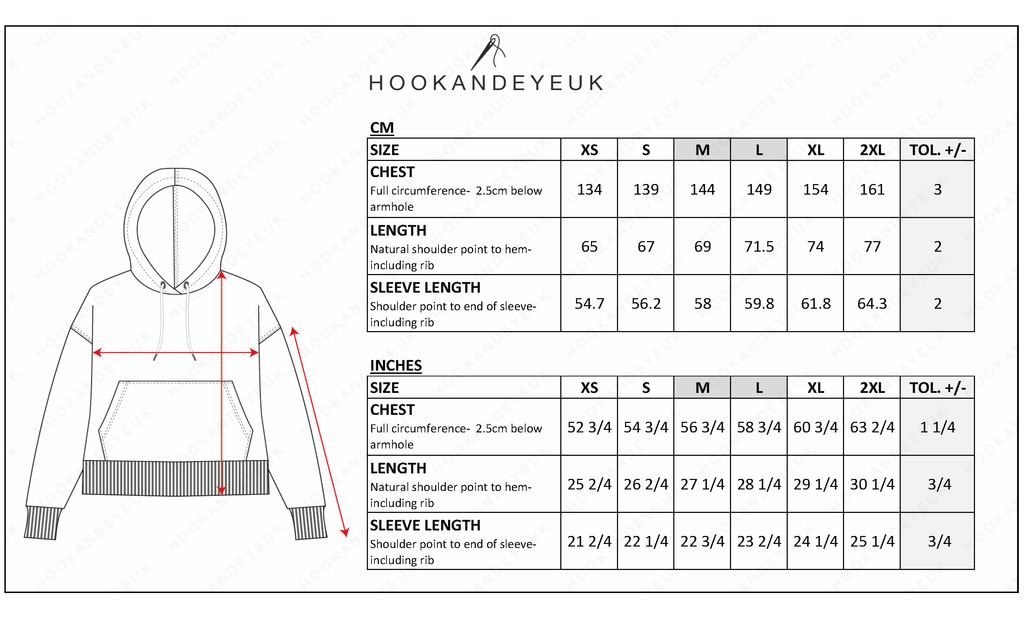
You can see that the chart above only takes into account the main measuring points (chest, length & sleeve length). This does not tell the manufacturer the measurements of the waistband, cuffs, pocket, hood etc. Unfortunately even if you did provide all of the necessary measurements, clothing manufacturers tend to just pick the main measurement points and align those with a pre-existing pattern block they already have developed.
This means you will not get the exact fit you desire. Moral of the story is its's always better to send a physical garment for manufacturers to take the fit from.
4. Choose Fabric Carefully — Fabric Type Affects Fit, Look & Feel
The fabric choice can make a huge difference to the end fit of your garment! The amount of stretch in a fabric, and the weight of it, are two big factors that can alter how your garment fits and looks. The below t-shirt could be made in a variety of fabrics, from a lightweight cotton elastane, to a stretch velour, to a heavy cotton jersey – and each would create a different effect.

Do some research before you get started with sampling and have a look at the fabric compositions and weights that brands you like are using.
If you’re still unsure on what would be best it’s a really good idea to get the same sample in a couple of different fabrics so you can decide what’s best for you (and manufacturers will often offer you a discount for bulk sampling the same garment shape at the same time).
5. Use Vector Graphics for Logo Applications — Avoid Pixelation & Ensure Quality
For any graphics on your clothing samples, it's always best to use vector graphics rather than pixel graphics.
Vector graphics work with lines and pixel graphics work with squares. Vector graphics are created in Adobe Illustrator and pixel graphics are created with Photoshop.
Vector graphics give much better resolution when magnified - that means you won't end up with a pixelated design on your samples.
![]()
Conclusion: Final Tips to Get Your Ideal Sample on First Try
Getting to a perfect or almost perfect clothing sample in one fell swoop is possible if you follow the tips above.
Building a strong foundation for your pieces is vital to avoid costly re-sampling and to develop a really strong base shape. Put the hard work into a garment at the start and you will be able to use the shape for the garment over and over!
In our tech pack and design sessions we help you utilise all of the tips above, and the great thing is, we do all the hard work for you! If that sounds good, click here to book a tech pack and design session.
Love Joss and the H&E team xx
P.s We're here for you if you have questions. Just drop us a WhatsApp on +447939591255

About the Author: Jocelyn Evans, owner of Hook and Eye UK, studied Fashion Design and Technology at Manchester Metropolitan University, including a year-long internship designing for Puma’s Team Sport division. After graduating, she worked with emerging grassroots brands in Birmingham and, in 2013, built a UK in-house design, sampling and manufacturing service that evolved into H&E. Recognising the limits of UK production, she expanded the business by pairing her UK team’s design, pattern cutting and sample expertise with overseas partners offering advanced fabric and construction technologies. Committed to transparency, sustainability and craftsmanship, Jocelyn creates only premium, long-lasting clothing—never fast fashion.